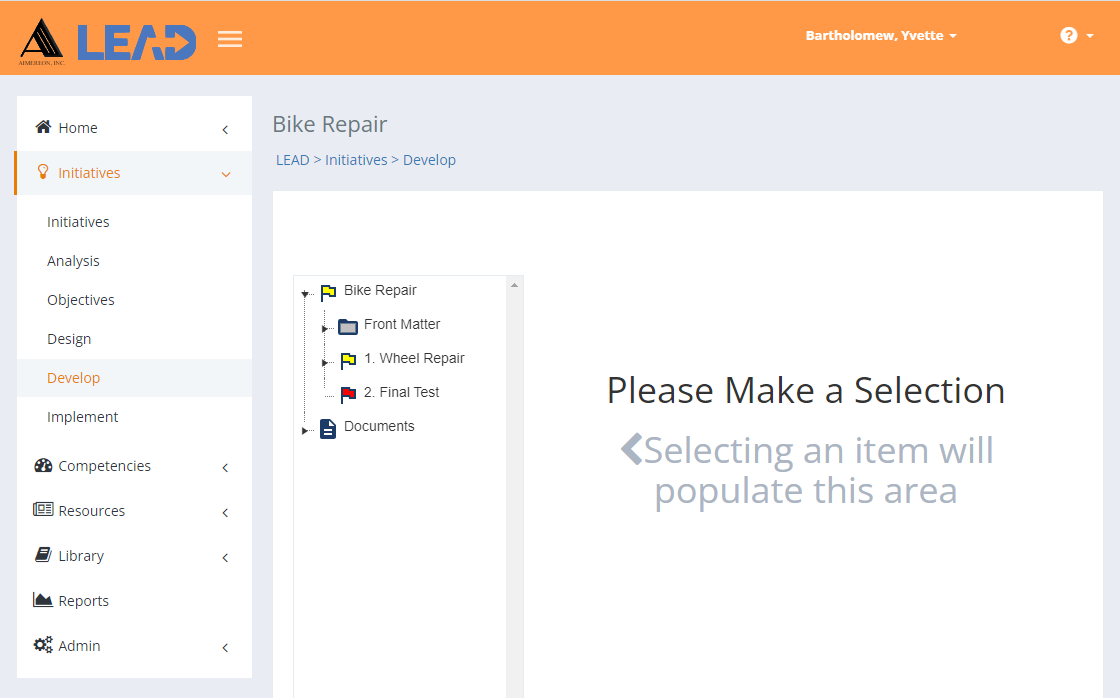
What can you do on this screen?
On the Develop tab, you add the actual content to your initiative. Based on the Curriculum Development tree structure you created on the Design tab, you can now add the following content:
•Front Matter information for the output generated for the instructor/facilitator and the participants with predefined Elements (or headings) to which you can add paragraphs, notes, cautions, or warning's.
•Terminal Objective Level entries (e.g., lessons) have Overview and Summary folders before and after the Enabling Objective Level entries (e.g., sections).
•Overview and Summary folders to which you can add Elements (or main headings), under which you can add paragraphs, notes, cautions, or warning)s.
•Enabling Objective Level entries (e.g., sections) contain the actual learning content, including:
oSheets that will print in the Participant Guide.
oElements (or main headings) for the content structure, based on the content type, under which you can add paragraphs, notes, cautions, or warning)s.
oPractice test items, which will output in the Instructor Guide.
oAssessment test items, which will output in an assessment.
•Assessment entries that allow you to edit the test instructions for a given assessment.

Figure 200: Initiatives > Develop
On this screen:
•Select a folder and then Expand ![]() to open up the folders beneath the selected folder to get to the data you need to work with:
to open up the folders beneath the selected folder to get to the data you need to work with:
oSelecting a course or module level and then Expand opens the tree down to the EO level, including the Overview and Summary folders.
oSelecting a TO or EO level and then Expand opens the tree down to the lowest level, including sheets, elements, and sub-elements.
oSelecting an Overview or Summary folder and then Expand opens the tree down to the lowest level, including elements and Sub-elements.
oSelecting the Documents folder and then Expand opens up all the available output options.
•To make more room to see items in the tree structure, click and drag the bottom right corner of the tree window (or frame).
•To make even more room, click on the three-bar icon ![]() next to LEAD in the header bar to minimize the main menu to show only the icons. To see all of the menu items again, click on the three-bar icon again.
next to LEAD in the header bar to minimize the main menu to show only the icons. To see all of the menu items again, click on the three-bar icon again.