•Select ![]() to create a new department.
to create a new department.
•Select View  to review a selected department. If you need to make any changes, select Edit on the Department Detail screen.
•Select Edit  to make changes to a selected department.
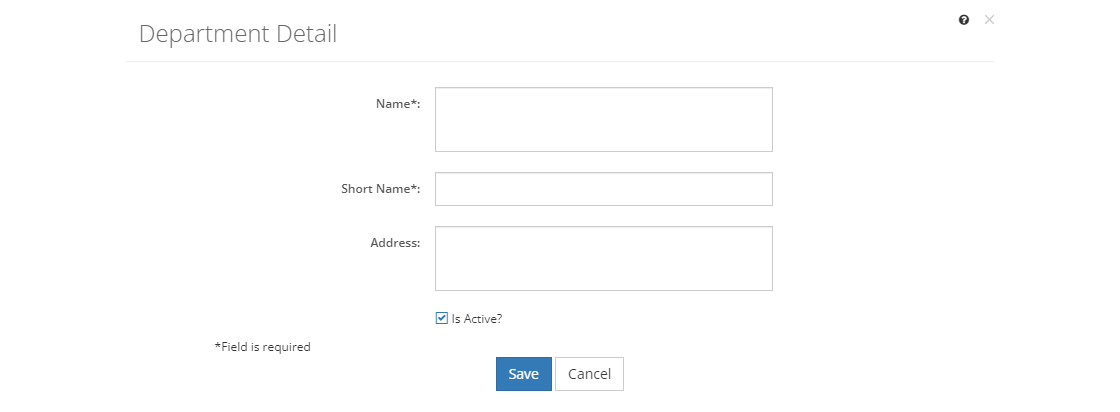
Any of these options opens the Department Detail screen, ready for you to enter, review, or update the fields below.

Figure 365: Department Detail Screen
•To create a new department, select Save once you've entered all the information. Likewise, to keep the edits you've made to an existing department, select Save. This will return you to the list of departments.
•If you do not want to keep the edits or create a new department, just select Cancel to close the pop-up.
•If you're reviewing a department, you can select Edit to make changes or you can close the pop-up window by selecting the X in the top right of the pop-up.
Department Fields
Name
The Name or title of the department. Departments can be selected for initiatives, initiative locations, and users.
Short Name
The Short Name is the abbreviation of the department's name. The short name is used on screen when space is at a premium.
Address
The mailing Address of the department, which is displayed on in the Training Needs Analysis and Training Management Document outputs.
Is Active?
When the Is Active? checkbox is checked, the department is active in training development. Only active departments can be selected for initiatives. In order to not break any links between departments, initiatives, initiative locations, and users, departments can be made inactive by unchecking the checkbox.